
1. Log in to cPanel:
Go to your cPanel login page (typically something like yourdomain.com/cpanel).
Enter your username and password to log in.
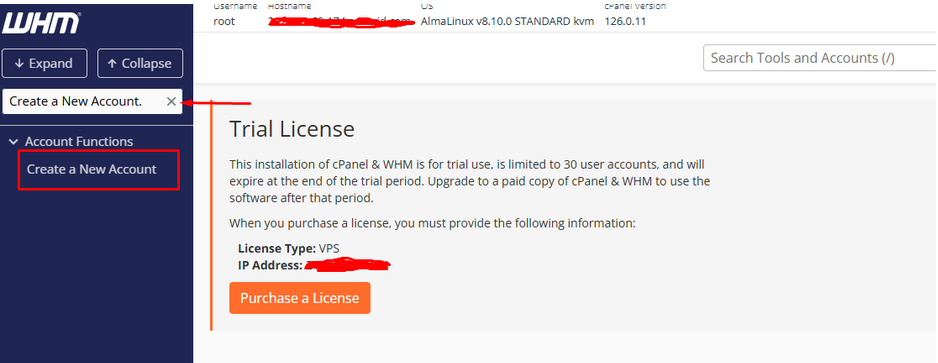
2. Go to Create a New Account
In the WHM search bar, type Create a New Account.
Click on it from the search results.
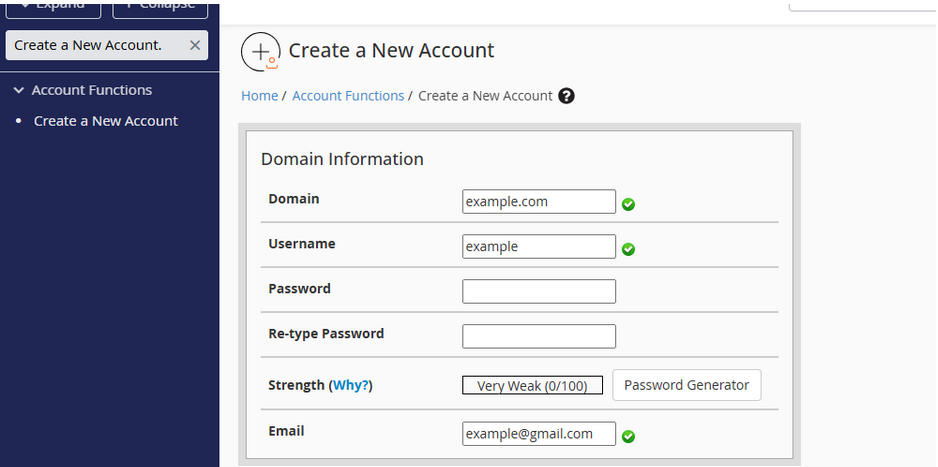
3. Enter the Domain & Username
Under Domain Information, enter:
- Domain Name (e.g., example.com)
- Username (auto-generated or manually entered)
- Password (strong password)
- Email Address (for account notifications)
4. Choose a Hosting Package
Under Package, select an existing hosting package or create a new one.
If no package is available, click Select Options Manually and set:
- Disk space
- Bandwidth
- Email accounts, databases, etc.

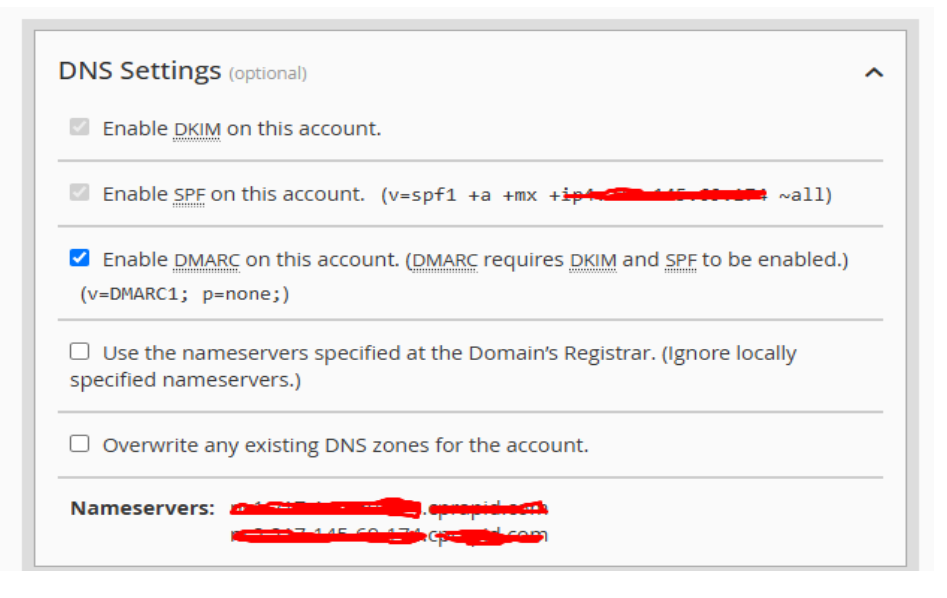
5. Configure DNS & Mail Routing
If using custom nameservers, select Use the nameservers specified at the Domain’s Registrar.
For email, choose the mail routing option (Local, Remote, or Automatically Detect).

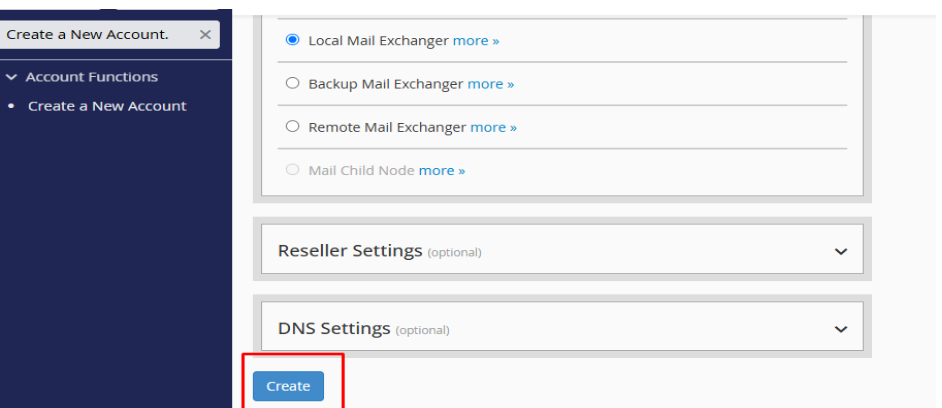
7. Review & Create
Double-check all details.
Click Create.
8. Confirmation & Login
Once the process completes, you’ll see a success message.
The user can now log in to cPanel at https://example.com:2083 using the credentials you set.