
To set or manage DNS records for a domain in WHM (Web Host Manager), you will use the DNS Zone Manager or Edit DNS Zone feature. This allows you to add, edit, or delete DNS records such as A records, MX records, CNAME records, TXT records, and others.
1. Log in to WHM:
Access your WHM dashboard by going to yourdomain.com:2087 or yourserverip:2087.
Log in using your root or reseller credentials.
2. Navigate to the DNS Functions Section:
In the WHM dashboard, use the search bar to search for “DNS Functions” or go to Home > DNS Functions.
Click on DNS Zone Manager.

3. Select the Domain to Modify:
In the DNS Zone Manager page, you will see a list of domains on your server.
Find the domain for which you want to manage the DNS records and click Manage next to it.
4. Edit or Add DNS Records:
In the DNS Zone Manager page, you will see a table with existing DNS records for the domain.
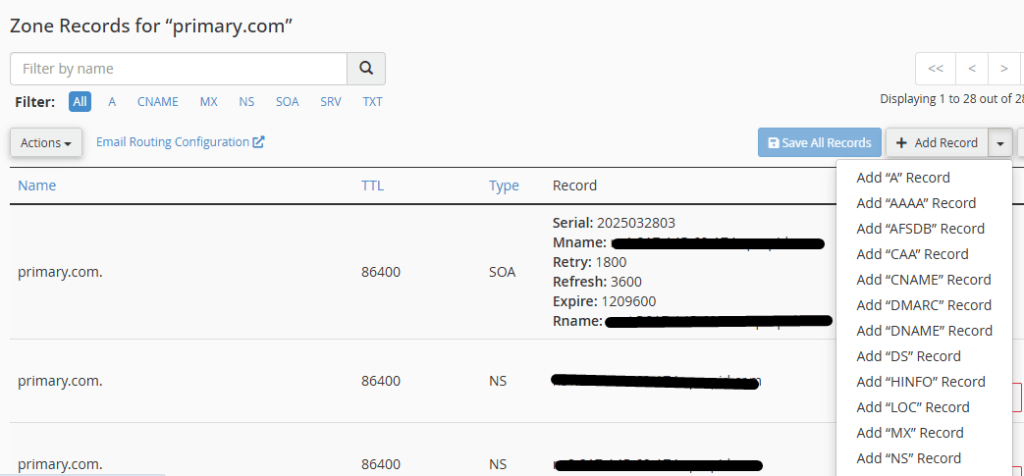
5.To Add a New DNS Record:
Scroll to the bottom of the page, and you’ll see an option to Add New Entries Below This Line.
Choose the type of DNS record you want to add (e.g., A, MX, CNAME, TXT, etc.) and enter the required information.
For example:
A Record: To point a subdomain or domain to an IP address.
- Name: www or yourdomain.com
- Type: A
- Address: your.server.ip.address
- TTL: 14400 (default)
MX Record: To configure mail handling.
- Name: yourdomain.com
- TTL: 14400
- Type: MX
- Priority: 10 (or another priority if you have multiple mail servers)
- Destination: mail.yourdomain.com
CNAME Record: To alias one domain to another.
- Name: subdomain
- TTL: 14400
- Type: CNAME
- CNAME: yourdomain.com
6. To Edit an Existing DNS Record:
Find the record you want to modify in the table and click Edit next to it.
Make the changes, and then click Save.
7. To Delete a DNS Record:
Find the record you want to delete, and click the Delete link next to it.
Confirm the deletion when prompted.
8. Save the Changes:
After adding, editing, or deleting DNS records, make sure to click the Save button at the bottom of the page to apply your changes.
7. Update DNS for Propagation:
DNS changes usually take some time to propagate across the internet, typically from a few minutes to up to 48 hours. You can monitor the changes using tools like DNS lookup or whois to check if your DNS records are updated.