Log in to cPanel:
Go to your cPanel login page (typically something like yourdomain.com/cpanel).
Enter your username and password to log in.
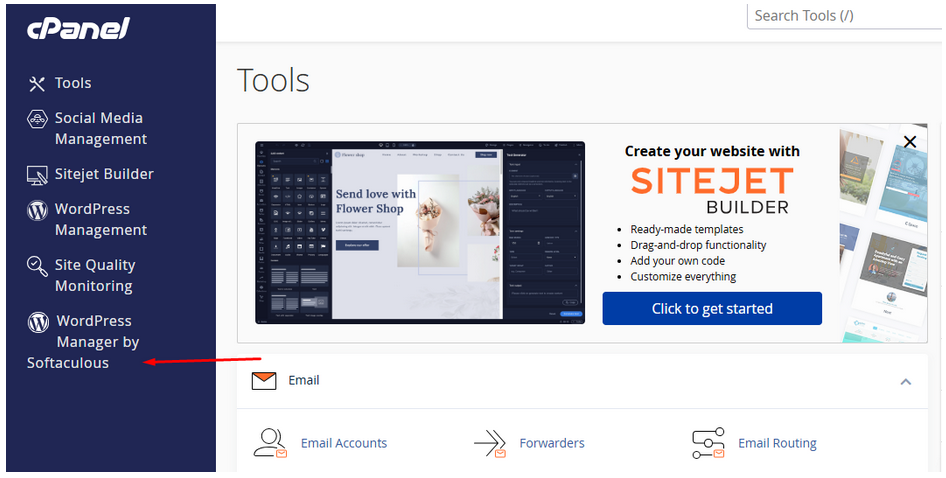
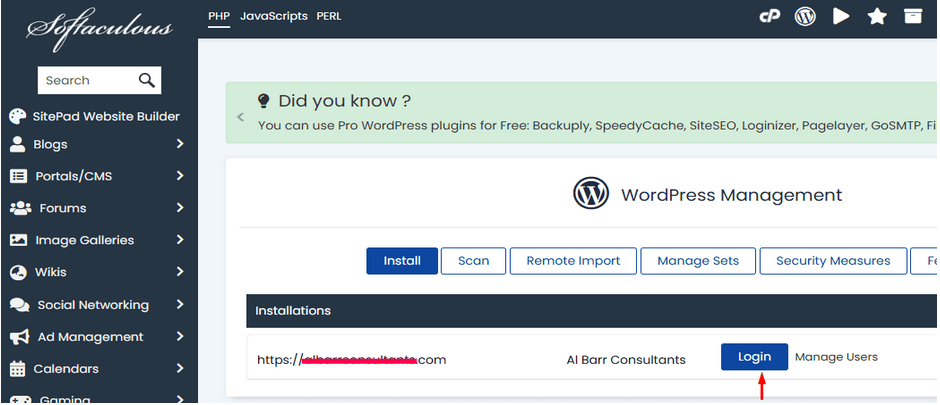
To Install a WordPress Plugin:
Click on WordPress Manager by Softaculous.
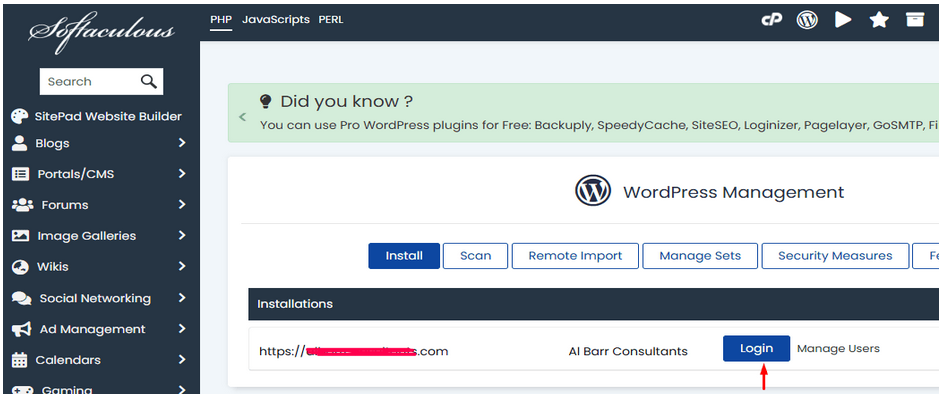
1. Log in to your WordPress Admin Dashboard:
Go to your WordPress admin login page (e.g., yourdomain.com/wp-admin).
Enter your username and password to log in.
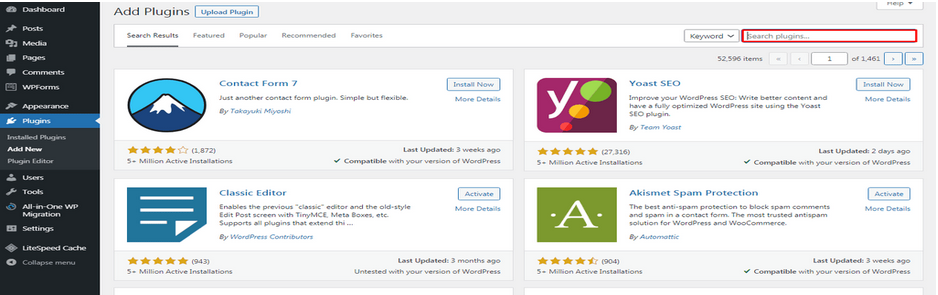
2. Navigate to the Plugins Section:
On the left sidebar of the WordPress dashboard, hover over or click on Plugins.
From the dropdown, click on Add New.
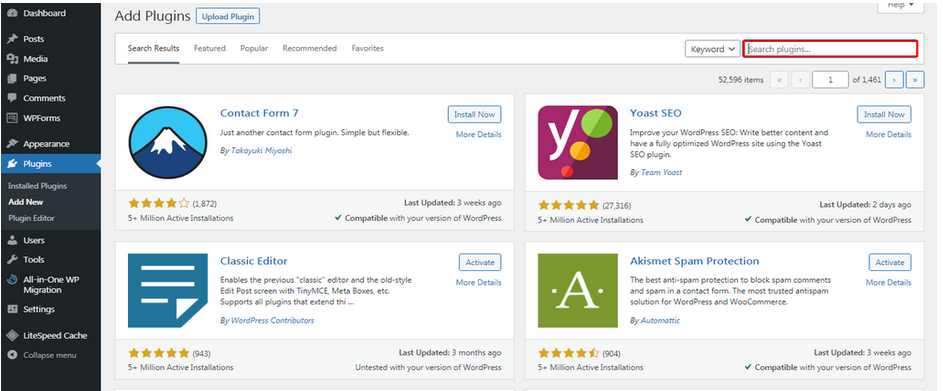
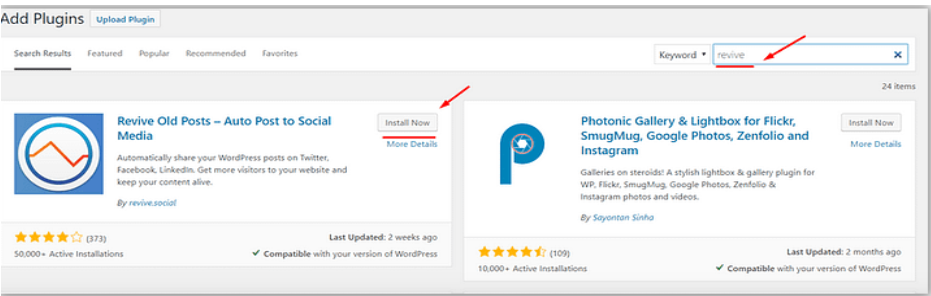
3. Search for the Plugin:
In the Add Plugins page, you will see a search bar in the top-right corner.
Type the name of the plugin you’re looking for, or browse through featured, popular, or recommended plugins.
4. Install the Plugin:
Once you’ve found the plugin you want, click the Install Now button next to it.
WordPress will automatically download and install the plugin.
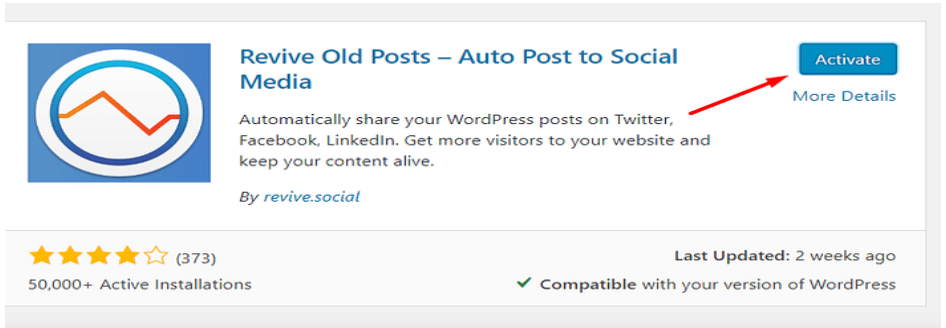
5. Activate the Plugin:
After the installation is complete, click Activate to start using the plugin.
To update a WordPress Plugin:
1. Log in to your WordPress Admin Panel:
Go to your website’s wp-admin (e.g., www.yoursite.com/wp-admin) and log in with your admin credentials.
2. Navigate to Plugins:
In the left-hand menu, click on Plugins > Installed Plugins.
3. Check for Available Updates:
Any plugins with an available update will show an “Update Now” link below the plugin name. You’ll also see a notification at the top of the page if updates are available.
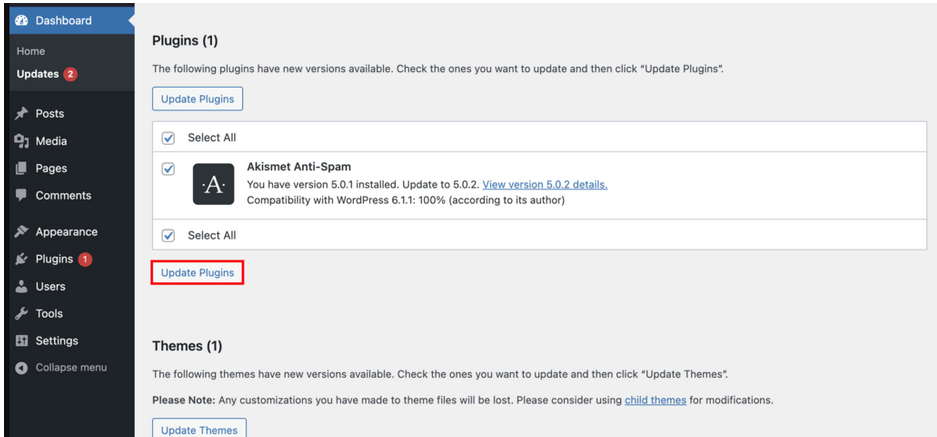
4. Update Plugins:
To update a plugin, simply click on the “Update Now” link next to the plugin that needs updating. The plugin will be updated automatically.