1. Log in to cPanel
Open your web browser and visit your cPanel login page. Eg. (yourdomain.com/cpanel).
Enter your username and password to access your hosting dashboard.
2. Open File Manager
Inside the cPanel dashboard, scroll down to the Files section.
Click on File Manager to open it.
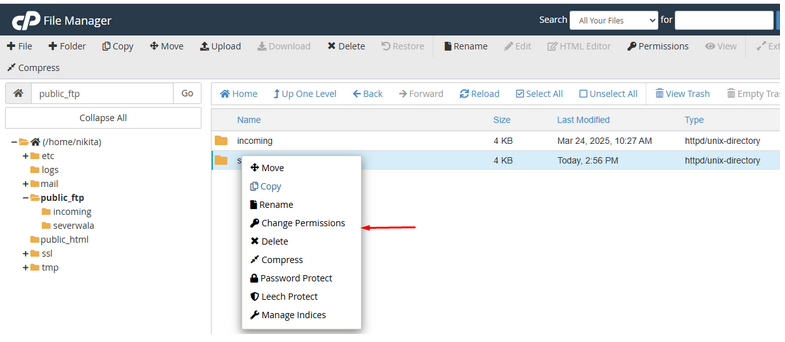
Navigate through the directory tree to locate the file or folder whose permissions you want to change.
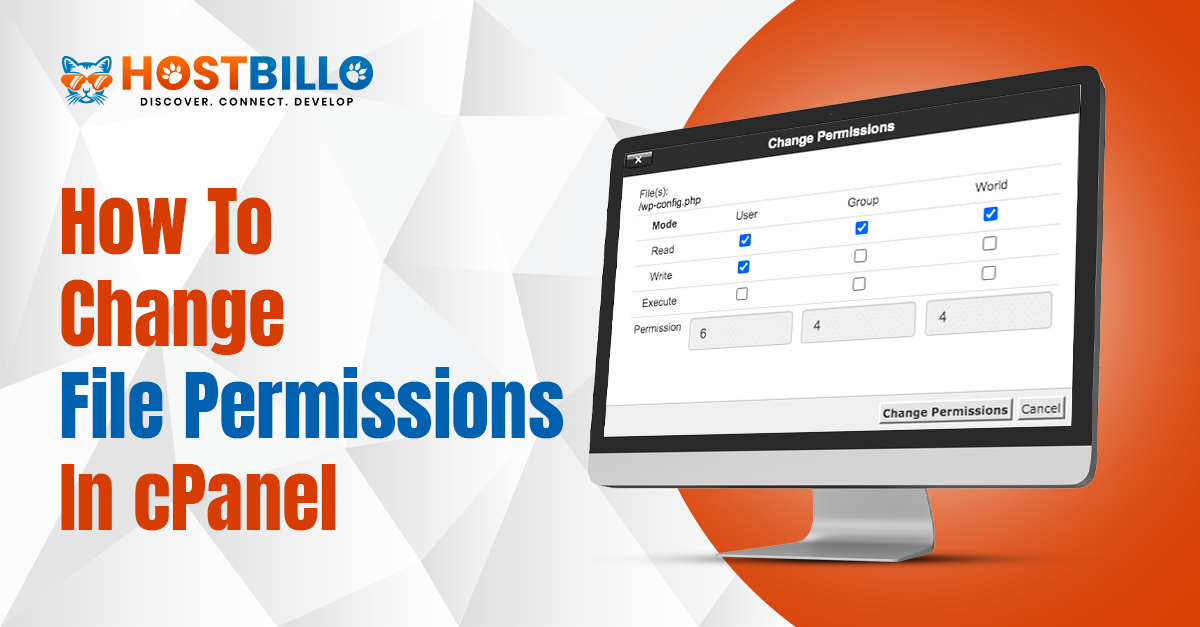
3. Change File Permissions
Once you find the file or folder, right-click on it.
From the context menu, select Change Permissions.
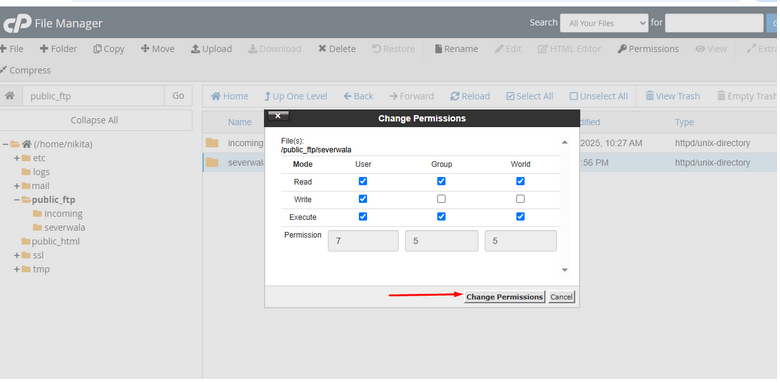
4. Set the Permissions
A pop-up window will appear with checkboxes representing permissions for User, Group, and World.
You can either:
- Use the checkboxes to enable or disable read, write, and execute permissions,
- Or enter a numeric value directly (e.g., 755 for files, 644 for basic HTML files, or 777 for full permissions – though 777 is not recommended for security reasons).
Click Change Permissions to apply the changes.
5. Verify the Permission Changes
After saving, check that the new permission value is now showing next to the file or folder in the File Manager.
Make sure the file or folder is still working as expected — incorrect permissions can cause issues with functionality or security.
Tip :
Only change permissions if you’re sure of what they do. Giving full permissions (like 777) can be risky and should be avoided unless absolutely necessary.