Securing your website with an SSL certificate is essential for data encryption and user trust. Follow these steps to install an SSL certificate in cPanel.
1. Log in to cPanel
- A. Open your web browser and visit your cPanel login page. Eg. (yourdomain.com/cpanel)
- B. Enter your username and password to access your hosting dashboard.
2. Navigate to SSL/TLS Section
A. In the Security section of cPanel, locate and click on SSL/TLS.
B. This section allows you to manage SSL certificates, private keys, and CSR (Certificate Signing Request).
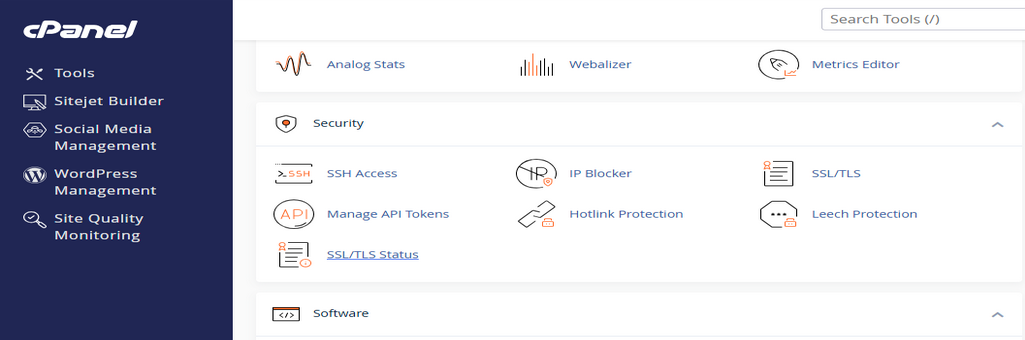
3. Check SSL Certificate Status
A. Click on SSL/TLS Status to view the current SSL certificate status for your domains.
B. Use the search box to find a specific domain.
C. If an SSL certificate is installed, you’ll see its expiration date and validation details.
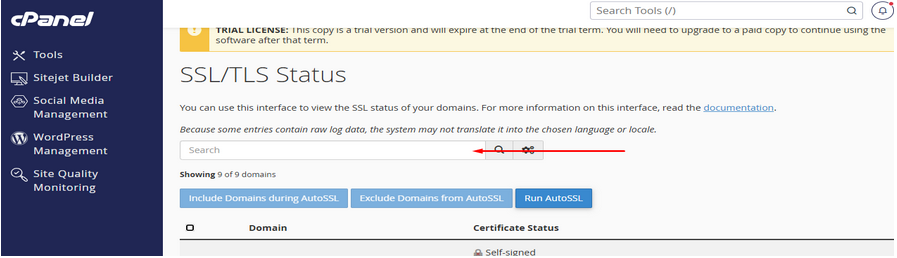
4. Install an SSL Certificate
If your domain doesn’t have an SSL certificate, you have two options:
A. Use AutoSSL (Free SSL)
1. cPanel provides AutoSSL, which automatically installs a free SSL certificate from Let’s Encrypt or Sectigo.
2. To enable it:
- Click Run AutoSSL in the SSL/TLS Status section.
- Wait for AutoSSL to generate and install the certificate.
B. Manually Install an SSL Certificate
If you have purchased an SSL certificate from a third-party provider, follow these steps:
1. Go to SSL/TLS > Manage SSL Sites.
2. Click Install an SSL Certificate and enter the certificate details:
- Certificate (CRT): Paste the SSL certificate file content.
- Private Key (KEY): Copy the private key generated when you created the CSR.
- Certificate Authority Bundle (CABUNDLE): If provided, paste the CA bundle details.
3. Click Install Certificate to apply it.
5. Verify SSL Installation
- A. Visit your website using. for ex.(yourdomain.com)
- Use SSL checker tools (like SSL Labs) to confirm proper installation.
Once installed, your website will be secured with HTTPS, improving security and trust.