
1. Log in to WHM as root:
Go to https://your-server-ip:2087.
Use your root username and password.
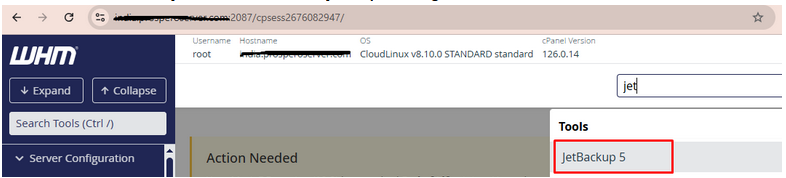
2. Open JetBackup:
In the WHM sidebar, search for “JetBackup”.
Click on “JetBackup 5” or “JetBackup” depending on the version installed.
3. Go to the Restore Section:
Depending on your version:
For JetBackup 5+
- Click on “Accounts” under the JetBackup dashboard.
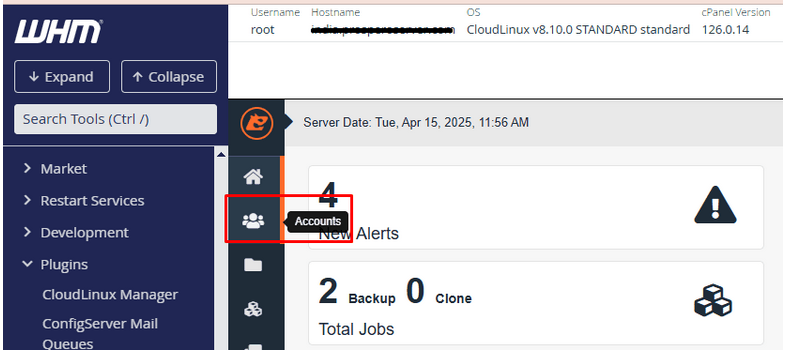
- You’ll see a list of accounts with available backups.
- Locate the user/account you want to restore.
- Click the “Restore” button on the right.
4. Confirm the Restore:
A confirmation window will appear.
You may be able to select what parts of the account to restore:
- Files
- Databases
- Emails
- Cron jobs
- DNS zones
For a full restore, leave everything selected.
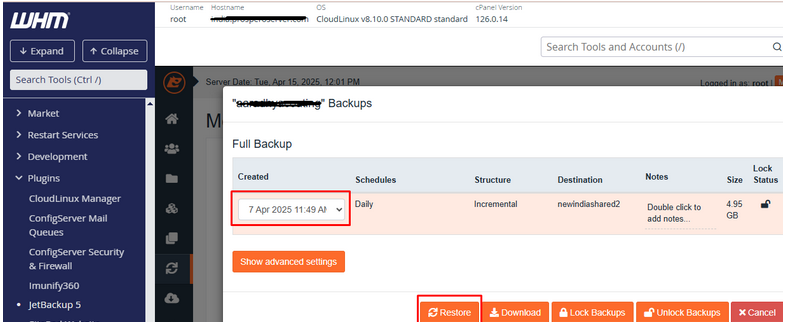
Click “Restore” or “Add to Queue” (depending on your version).
5. Monitor the Restore Progress:
JetBackup will queue the job and begin the restoration process.
You can monitor it under:
- JetBackup > Queue