1. Log in to cPanel:
Go to https://yourdomain.com/cpanel.
Enter your cPanel credentials.
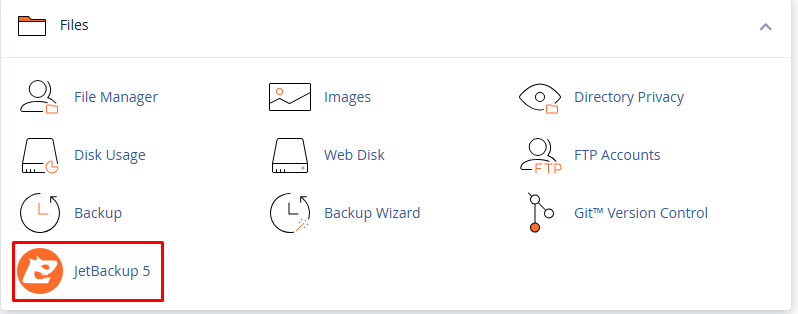
2. Open JetBackup:
Scroll down or search for “JetBackup” in the search bar.
Click on the JetBackup 5 (or 4, depending on your version).
3. Choose What You Want to Restore:
Inside JetBackup, you’ll see several backup options, such as:
- Full Backups
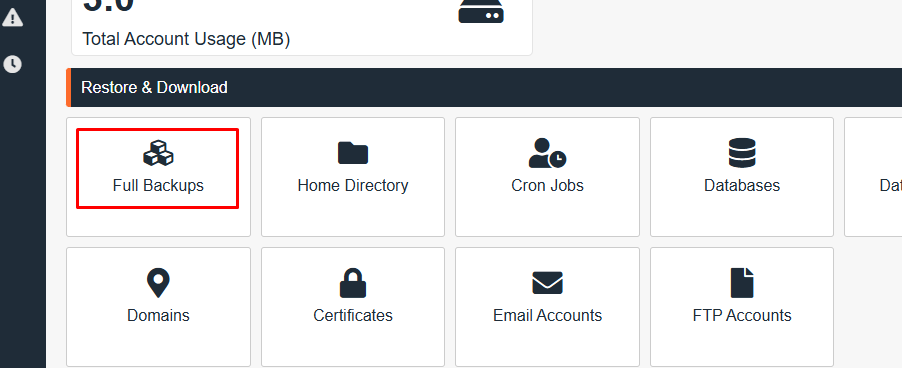
- File Backups
- Database Backups
- Email Backups
- DNS Zone Backups
- Cron Jobs Backups
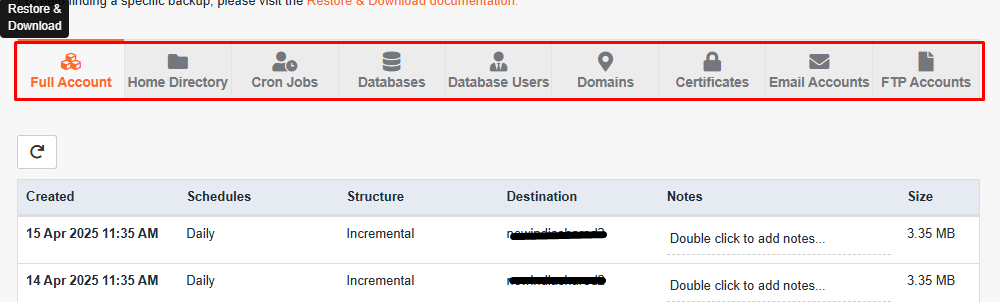
4. Select a Backup Point:
You’ll see a list of available backups with dates.
Find the one you want and click “Restore” or “Generate Download” if you just want to download it.
5. Confirm the Restore:
After clicking “Restore,” it will ask you to confirm.
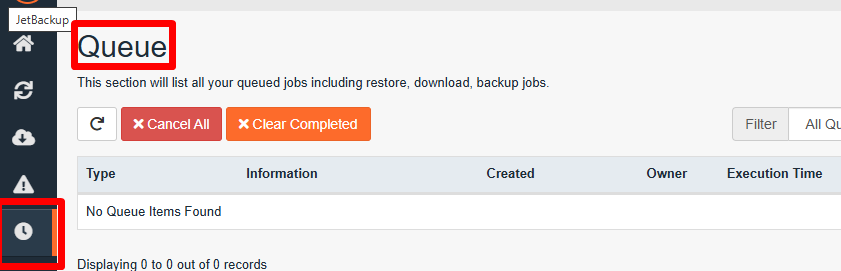
Click “Add to Restore Queue”.
You can track the progress under the “Queue” tab in JetBackup.
6. Monitor the Restore Process:
Go to JetBackup Queue (found in the JetBackup section) to check the progress.
Once the restoration is complete, you will receive a notification.